
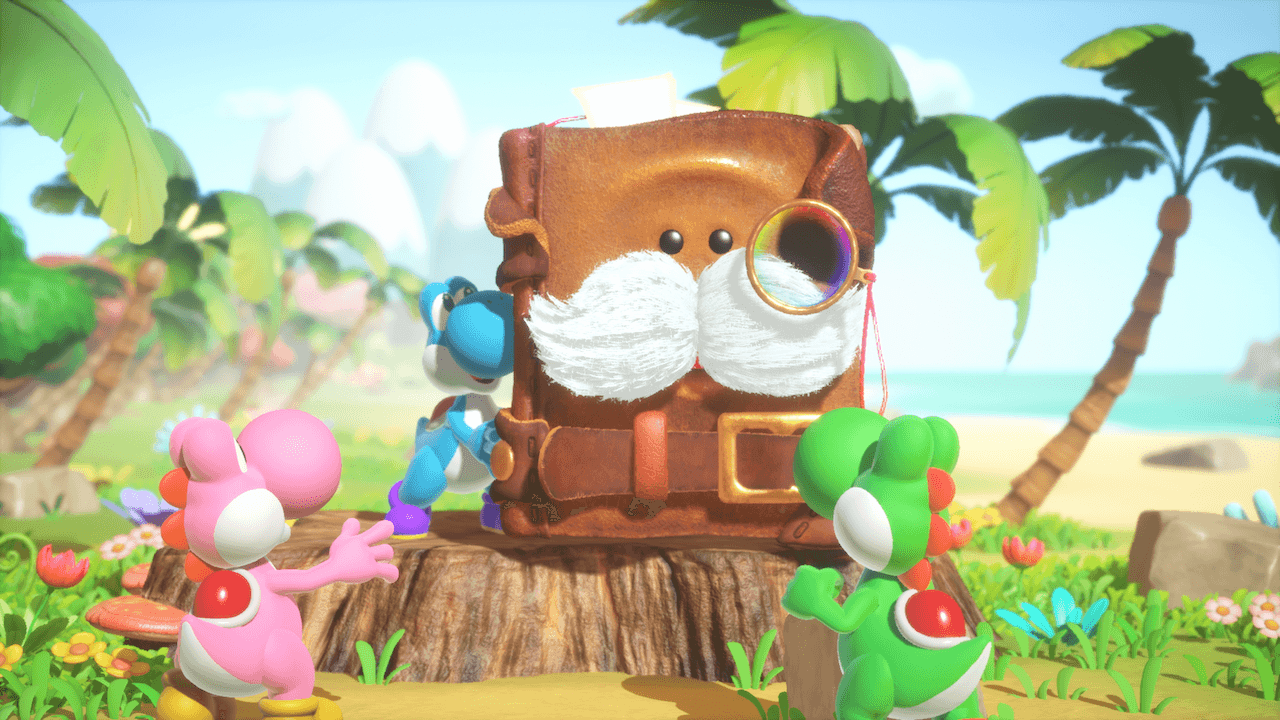
Yoshi and the Mysterious Book is a discovery-focused platform adventure about exploring the living pages of Mr. E, a mysterious talking encyclopedia. Instead of simply rushing from the start of a level to the goal, most progress comes from testing how each creature behaves, recording discoveries, collecting stars, and using those stars to unlock new chapters.
This walkthrough is designed as a main hub for clearing the story, unlocking every chapter, and planning a 100% completion route. Use it together with the in-game book counter: the game tracks your discoveries and collectibles by habitat, so the safest approach is to clear each habitat once, then revisit it later with a checklist mindset.
Last updated: May 24, 2026. This is an unofficial fan guide. Chapter names, unlock thresholds, and collectible counts should be checked against your in-game book before final publishing.
Quick Facts
| Item | Details |
|---|---|
| Game | Yoshi and the Mysterious Book |
| Platform | Nintendo Switch 2 |
| Publisher | Nintendo |
| Main objective | Explore Mr. E’s pages, investigate creatures, make discoveries, and unlock chapters |
| Main story | Chapters 1-6 |
| Post-game route | Chapters 7-12 |
| Completion focus | Discoveries, stars, Smiley Flowers, creature pages, challenge chapters |
How Progression Works
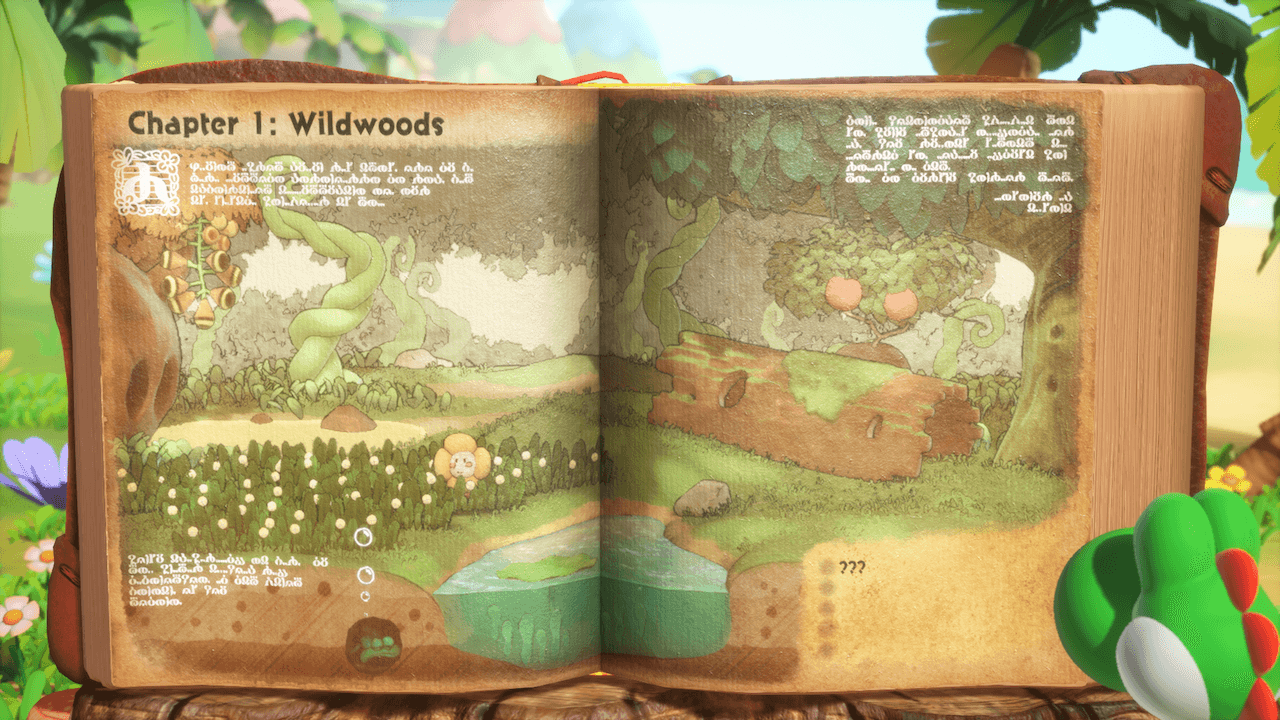
The core loop is simple:
- Enter a habitat from Mr. E’s book.
- Find the featured creature and test every possible interaction.
- Try Yoshi’s basic actions: jump, flutter jump, tongue grab, egg throw, ground pound, and tail flick.
- Look for a Big Discovery to finish the habitat.
- Collect stars from discoveries.
- Use stars to unlock more chapters.
- Return later for missing discoveries and Smiley Flowers.
A normal first clear should focus on understanding the creature, not perfect collection. A 100% clear should come later, after you know the chapter layout and have enough stars to open the post-game chapters.
Recommended Route
| Phase | Goal | What to Prioritize |
|---|---|---|
| First pass | Clear Chapters 1-6 | Big Discoveries, basic creature mechanics, enough stars to keep unlocking chapters |
| Second pass | Clean up Chapters 1-6 | Missing discoveries, Smiley Flowers, hints bought with tokens |
| Post-game pass | Clear Chapters 7-10 | New habitats, tougher discovery setups, late-game star thresholds |
| Final pass | Clear Chapters 11-12 | Special Studies, Mr. E’s Challenges, remaining collectibles |
| 100% pass | Finish the book | Every discovery, every Smiley Flower, all challenge pages |
Chapter Unlock Table
| Chapter | Area | Unlock Requirement | Notes |
|---|---|---|---|
| Chapter 1 | Wildwoods | Unlocked by default | Teaches the discovery loop |
| Chapter 2 | Mountaintops | 20 ★ | Adds more vertical and movement-based creature puzzles |
| Chapter 3 | Seaside | 65 ★ | Introduces more water and bubble interactions |
| Chapter 4 | Settled Valley | 114 ★ | Focuses on creature behavior chains and object interaction |
| Chapter 5 | Bug Country | 167 ★ | More complex creature abilities and projectile-style solutions |
| Chapter 6 | Remote Isle | 218 ★ | Main-story finale route |
| Chapter 7 | Underground | Complete Chapters 1-6 and reach 285 ★ | Post-game chapter |
| Chapter 8 | Tallest of Trees | Complete Chapters 1-6 and reach 353 ★ | Post-game chapter |
| Chapter 9 | Miniworld | Complete Chapters 1-6 and reach 421 ★ | Post-game chapter |
| Chapter 10 | Moon | Complete Chapters 1-6 and reach 500 ★ | Post-game chapter |
| Chapter 11 | Special Studies | Complete Chapters 1-10 and reach 717 ★ | Challenge-style post-game chapter |
| Chapter 12 | Mr. E’s Challenges | Complete Chapters 1-10 and reach 999 ★ | Final challenge chapter |
Main Story Walkthrough
Chapter 1: Wildwoods Walkthrough
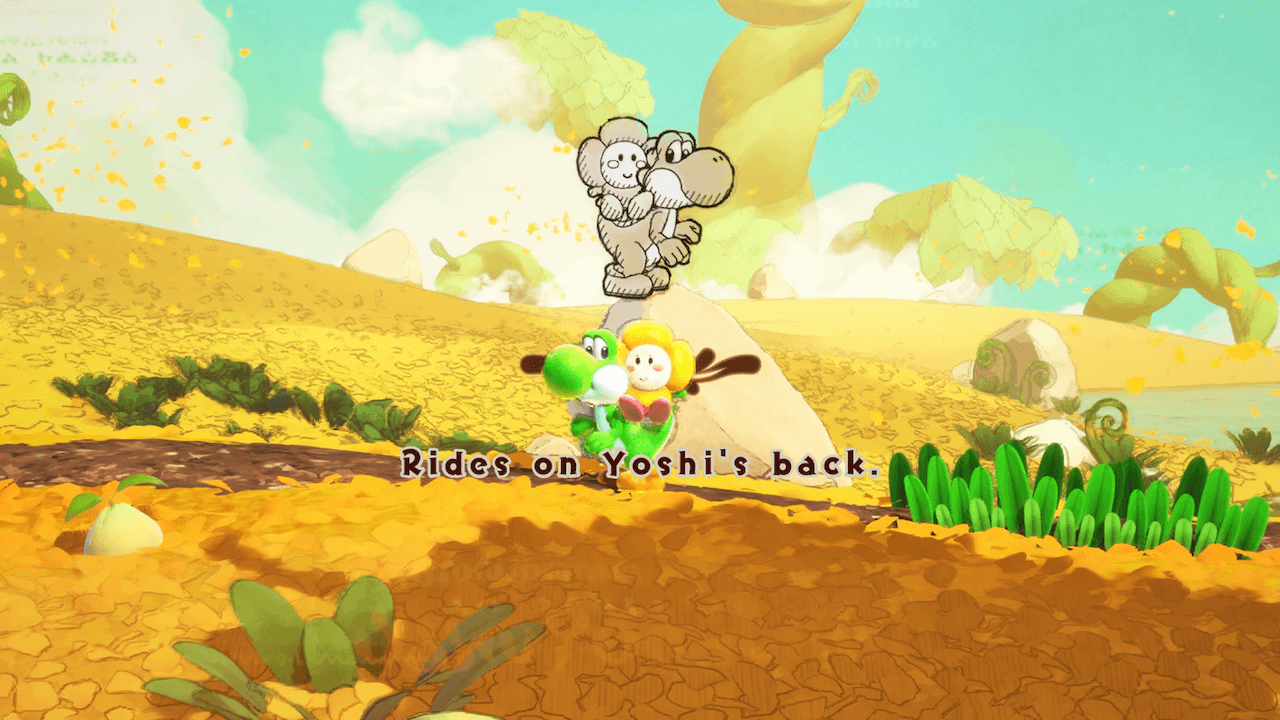
Wildwoods is the tutorial chapter and the best place to learn how the game wants you to think. Do not treat it like a standard platformer. Every plant, creature, rock, bubble, and suspicious object may be part of a discovery.
Wildwoods Habitats
| Habitat | Main Focus | Smiley Flowers |
|---|---|---|
| Crazee Dayzee Habitat | Carrying a creature and making flowers bloom | 3 |
| Bunchabee Habitat | Swarm behavior and movement timing | 5 |
| Scatterpuff Habitat | Using scattered seeds to affect objects | 3 |
| Croakaoke Habitat | Music, bouncing, and vertical movement | 4 |
| Glubbit Habitat | Bubble movement and water traversal | 5 |
Walkthrough Tips
Start with Crazee Dayzee Habitat and use it as your baseline. Carry the creature, place it near flower buds, test whether it reacts to mud, slopes, bushes, or hidden platforms, and watch for the book to register discoveries. When you see a route that looks unreachable, assume the creature can change the environment.
In Bunchabee Habitat, keep moving and observe the swarm pattern before trying to collect everything. If a Smiley Flower appears just out of reach, look for a creature interaction that changes your jump route or reveals a hidden path.
In Scatterpuff Habitat, focus on where seeds land. Seeds can affect the environment, so walk through them deliberately and test whether they can weaken obstacles or trigger new reactions.
Croakaoke Habitat is about timing and height. Jump on or near the creatures to reach upper paths. If you are missing a discovery, revisit any section with musical cues or repeated platforms.
Glubbit Habitat introduces bubble-based movement. Enter bubbles, let them carry Yoshi, and check high corners before leaving the level.
Wildwoods Completion Checklist
- Clear all five Wildwoods habitats.
- Find each habitat’s Big Discovery.
- Collect 20 Wildwoods Smiley Flowers.
- Revisit suspicious flower buds and hidden lower paths.
- Spend tokens on hints only after doing one blind exploration pass.
Chapter 2: Mountaintops Walkthrough
Mountaintops raises the importance of vertical movement. Expect more ledges, falling routes, upward launches, and creature-based movement assists.
Mountaintops Habitats
| Habitat | Main Focus | Smiley Flowers |
|---|---|---|
| Taggit Habitat | Chasing, grabbing, and throwing | 3 |
| Milde Habitat | Bouncing and splitting behavior | 3 |
| Peckadee Habitat | Timing and creature movement | 4 |
| Floofly Habitat | Riding floating creatures | 5 |
| Plumebrella Habitat | Slow falling and controlled descent | 4 |
| Thudd Domain | Launching Yoshi and reaching distant areas | 7 |
Walkthrough Tips
Taggit Habitat is built around pursuit. If a Taggit grabs something, follow it instead of restarting immediately. The solution may involve letting it move first, then catching it at the right moment.
Milde Habitat rewards repeated interaction. Jump on Mildes, test how they split or pop, and look for places where their body size changes the route.
Floofly and Plumebrella habitats are movement lessons. Floofly helps you ride across gaps, while Plumebrella changes your descent speed. If you see collectibles placed under a long fall, try descending more slowly instead of rushing.
Thudd Domain is the chapter’s major movement check. Treat Thudd as a launcher: aim for distant platforms, upper ledges, and hidden side areas before triggering the final discovery.
Mountaintops Completion Checklist
- Reach 65 ★ to unlock Seaside.
- Collect 26 Mountaintops Smiley Flowers.
- Check every upper ledge after learning Floofly and Plumebrella movement.
- Revisit Thudd Domain for missed long-distance launches.
Chapter 3: Seaside Walkthrough
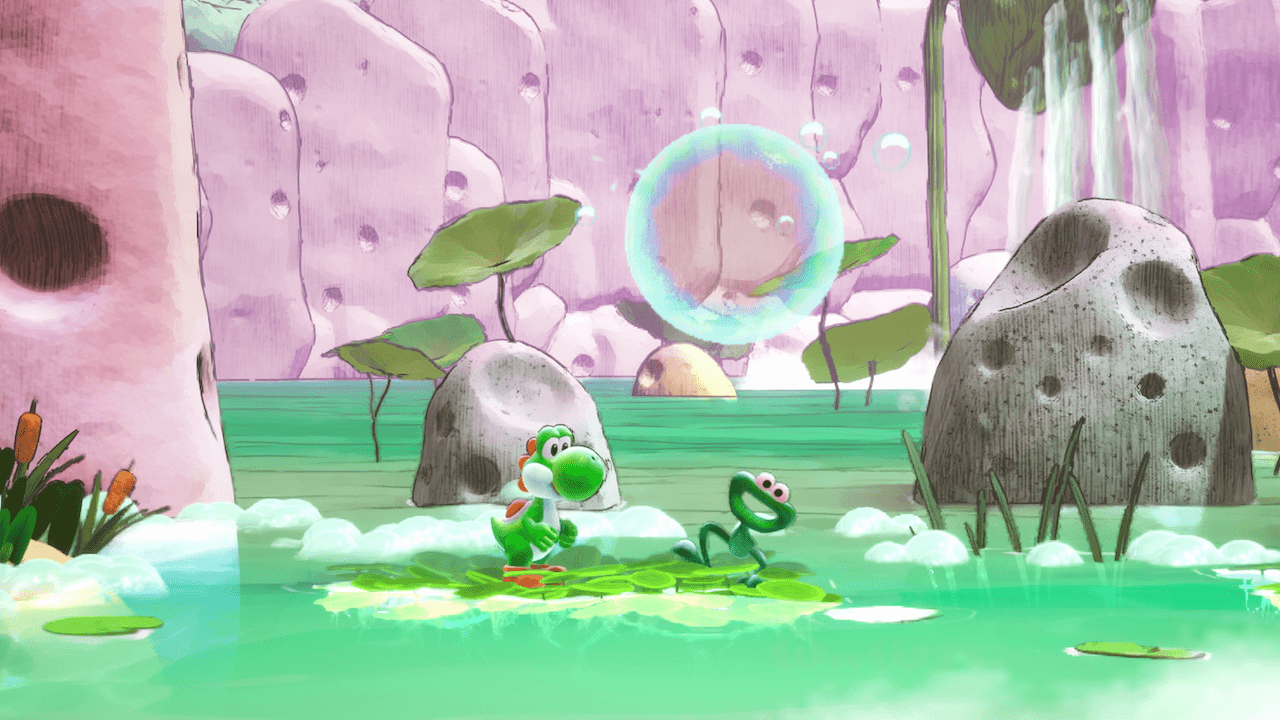
Seaside is where water, bubbles, floating creatures, and swimming routes become central. Move slowly and watch how creatures behave in water before collecting aggressively.
Seaside Habitats
| Habitat | Main Focus | Smiley Flowers |
|---|---|---|
| Weewoo Habitat | Sound-based effects and timing | 4 |
| Ouchin Habitat | Sticky or hazardous surfaces | 3 |
| Casterway Habitat | Fishing and object retrieval | 4 |
| Bafloonder Habitat | Bubble boosts and water movement | 6 |
| Snurfboard Habitat | Riding across water | 4 |
| Nep-Enut Habitat | Combining water-based creatures | 4 |
Walkthrough Tips
Do not rush underwater or semi-water sections. Many Seaside solutions are based on letting a creature complete its behavior cycle. If a creature creates bubbles, rides the surface, or pulls objects from water, wait and observe before moving on.
Casterway Habitat is likely to hide discoveries behind fishing interactions. If you see fish, shadows, or unreachable items, test whether Casterway can pull something into range.
Bafloonder and Snurfboard are traversal-focused. Use them to reach flowers that are too high, too far, or placed over water hazards.
Seaside Completion Checklist
- Reach 114 ★ to unlock Settled Valley.
- Collect 25 Seaside Smiley Flowers.
- Recheck water surfaces, bubbles, and hidden alcoves.
- Use each creature both as a tool and as a puzzle object.
Chapter 4: Settled Valley Walkthrough
Settled Valley shifts toward multi-step object puzzles. Many discoveries involve making one creature affect another object, enemy, or environmental feature.
Settled Valley Habitats
| Habitat | Main Focus | Smiley Flowers |
|---|---|---|
| Loopdeecoop Habitat | Rotating movement and positioning | 4 |
| Detonut Habitat | Impact and object reactions | 3 |
| Shy Guy Abode | Enemy interaction and hidden setups | 3 |
| Bugya Habitat | Projectiles and protective behavior | 3 |
| Little Mouser Nest | Theft, chase routes, and recovery | 6 |
| Hauger Habitat | Riding, jumping, and drilling-style movement | 5 |
Walkthrough Tips
This chapter is best cleared by following cause and effect. When an object moves, breaks, changes color, or gets stolen, do not immediately undo it. Follow the result and see whether it opens a discovery route.
Little Mouser Nest is especially important for players who dislike losing control of items. Let the creature steal something once, then track where it goes. The stealing behavior may be part of the solution.
Hauger Habitat is a strong candidate for hidden vertical or breakable routes. Test high jumps, heavy impacts, and unusual terrain.
Settled Valley Completion Checklist
- Reach 167 ★ to unlock Bug Country.
- Collect 24 Settled Valley Smiley Flowers.
- Follow any creature that carries, steals, or transforms an object.
- Revisit the chapter after learning later movement habits.
Chapter 5: Bug Country Walkthrough
Bug Country is a more technical chapter. Creature abilities become more specialized, and missed discoveries often come from not testing enough edge cases.
Bug Country Habitats
| Habitat | Main Focus | Smiley Flowers |
|---|---|---|
| Behedger Habitat | Defensive or barrier-style interactions | 4 |
| Swirm Habitat | Slime trails and body extension | 5 |
| Stickiwick Habitat | Sticking and surface behavior | 5 |
| Mawstalk Habitat | Eating or swinging interactions | 3 |
| Slugarang Habitat | Boomerang-style projectile use | 4 |
| Wooshwing Habitat | Gliding and air control | 4 |
Walkthrough Tips
Swirm and Stickiwick are about surfaces. Pay attention to walls, ceilings, slopes, and narrow passages. If a route looks impossible for Yoshi alone, try changing the creature’s state first.
Mawstalk and Slugarang are interaction-heavy. Throw, aim, or swing them into suspicious targets. If a flower or discovery sits behind an obstacle, assume you need a creature-specific projectile rather than a normal egg.
Wooshwing changes how you cross gaps. Before ending the level, test gliding from the highest safe point in both directions.
Bug Country Completion Checklist
- Reach 218 ★ to unlock Remote Isle.
- Collect 25 Bug Country Smiley Flowers.
- Test creature abilities against walls, ceilings, and breakable targets.
- Revisit projectile sections for hidden flowers.
Chapter 6: Remote Isle Walkthrough
Remote Isle is the final chapter of the main story route. It combines earlier ideas with more advanced traversal and creature behavior.
Remote Isle Habitats
| Habitat | Main Focus | Smiley Flowers |
|---|---|---|
| Goonie Habitat | Carrying and air movement | 4 |
| Huffin Puffin Habitat | Companion and group behavior | 3 |
| Jetty Jelly Habitat | Water and bounce interactions | 4 |
| Lunge Fish Habitat | Fast water traversal | 6 |
| Jam Guy Habitat | Enemy or rhythm-based interaction | 3 |
| Bewilder Bird Habitat | Main-story finale discovery | 6 |
Walkthrough Tips
Remote Isle asks you to combine careful observation with better movement control. Goonie and Lunge Fish routes can hide collectibles in places you only pass once, so slow down when riding or being carried.
For the finale route, clear the habitat normally first. After the credits, return to any Remote Isle level where your book page still has missing discoveries or Smiley Flowers.
Remote Isle Completion Checklist
- Finish Chapter 6 and roll credits.
- Collect 26 Remote Isle Smiley Flowers.
- Return after credits to begin the post-game chapter route.
- Use the book counter to identify incomplete habitats.
Post-Game Walkthrough
After clearing the first six chapters, post-game chapters open up. These chapters are more completion-focused and are the backbone of a true 100% route.
Chapter 7: Underground Walkthrough
| Habitat | Main Focus |
|---|---|
| Tumball Nest | Rolling and weight-based movement |
| Wiggaline Habitat | Stretching, pulling, or line-based routes |
| Goopsie Habitat | Ceiling and cling behavior |
| Underbit Habitat | Digging through dirt or terrain |
| Billeau Habitat | Enclosed movement and combined creature use |
| Crudworm Domain | Late-game creature puzzle route |
Underground rewards players who look below the obvious path. Check ceilings, buried passages, dirt walls, and hidden chambers. If a creature can cling, dig, roll, or stretch, test it in every direction before leaving.
Chapter 8: Tallest of Trees Walkthrough
| Habitat | Main Focus |
|---|---|
| Piranha Plant Habitat | Eating and light-based setups |
| Bounseed Habitat | Bouncing and flower-blooming combinations |
| Wash Squash Habitat | Water, mud, fire, and object states |
| Grab-Grass Nest | Grabbing and holding routes |
| Spincone Habitat | Spinning and momentum |
| Gobbobble Nest | Swallowing or transformation behavior |
Tallest of Trees is a strong revisit chapter because several solutions can involve carrying one creature into another creature’s space. If a puzzle seems unrelated to the current creature, check whether you can bring a known interaction into the area.
Chapter 9: Miniworld Walkthrough
| Habitat | Main Focus |
|---|---|
| Magnified Floofly | Larger-scale floating route |
| Magnified Scatterpuff | Expanded seed behavior |
| Magnified Upshoot | Vertical launch puzzles |
| Magnified Hufungous | Giant creature behavior |
| Magnified Hopper | High bounce and timing |
| Magnified Lunge Fish | Fast traversal under magnified conditions |
Miniworld reuses familiar interaction logic at a different scale. Start each habitat by asking what changed: size, distance, timing, or reach. Do not assume the same solution works exactly the same way as before.
Chapter 10: Moon Walkthrough
| Habitat | Main Focus |
|---|---|
| Blorp Habitat | Blob movement and unusual physics |
| Raven Habitat | Air movement and orbit-like routing |
| Cuttlefwoosh Habitat | Water or ink-like movement |
| Eleedee Habitat | Electric or light-style interaction |
| UFO Base | Late-game exploration route |
| Moon | Final post-game story route |
Moon is the late-game climax before the final challenge chapters. Search corners, test altered gravity or movement behavior, and use every previous lesson: carry creatures, throw them, ride them, feed them, bounce on them, and let them interact with the environment.
Chapter 11: Special Studies Walkthrough
| Challenge | Goal Type |
|---|---|
| Short-to-Tall Roll Call | Creature identification and ordering |
| Seaside Speed Rankings | Time or movement optimization |
| Sneaky Hide and Seek | Search and observation |
| Merry Music Festival | Music and timing |
| All-Terrain Race | Route optimization |
| A Perilous Passage | Survival-style movement challenge |
Special Studies is not just about clearing levels. Treat it as a test of whether you understand creature behavior across the whole book. Before attempting a perfect run, finish each challenge once, then come back with a route plan.
Chapter 12: Mr. E’s Challenges Walkthrough
| Challenge | Goal Type |
|---|---|
| Explode to Escape | Controlled destruction |
| Protect the Apple | Object protection |
| Twilight Bug Catching | Search and timing |
| Flee from the Leaf | Escape route planning |
| Survive the Risky Skies | Air movement and hazard avoidance |
| Hop or Drop | Precision movement |
Mr. E’s Challenges are the final test. Keep these rules in mind:
- Learn the safe route before chasing speed.
- Watch where the challenge places repeatable hazards.
- Use Yoshi’s flutter jump conservatively.
- Do not waste eggs unless the target is clearly part of the route.
- If a challenge depends on a creature, test the creature’s full behavior first.
Smiley Flower Checklist
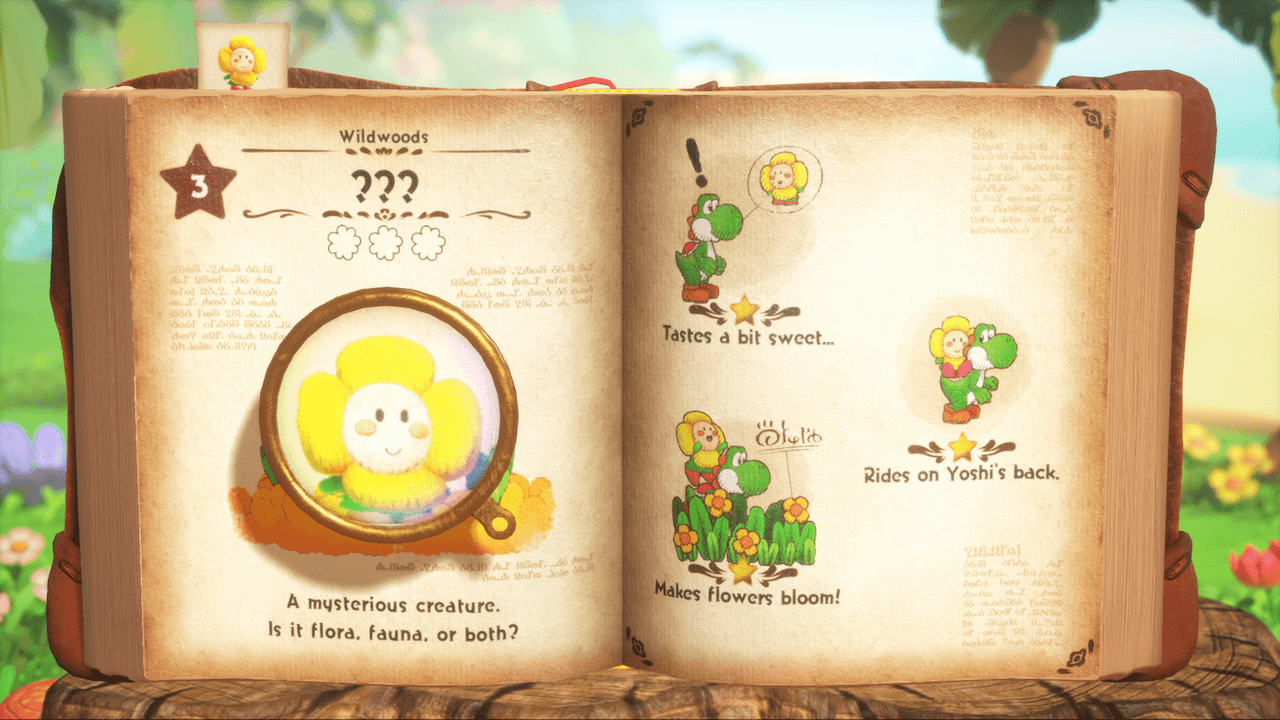
The main story chapter checklist currently contains 146 tracked Smiley Flowers across Chapters 1-6. The broader 100% route currently tracks 260 Smiley Flowers, with the remaining flowers tied to post-game content. Always use the in-game counter as the final source of truth.
| Chapter | Area | Smiley Flowers |
|---|---|---|
| Chapter 1 | Wildwoods | 20 |
| Chapter 2 | Mountaintops | 26 |
| Chapter 3 | Seaside | 25 |
| Chapter 4 | Settled Valley | 24 |
| Chapter 5 | Bug Country | 25 |
| Chapter 6 | Remote Isle | 26 |
| Main Story Total | Chapters 1-6 | 146 |
| Full Completion Target | All tracked Smiley Flowers | 260 |
Habitat-by-Habitat Checklist
| Chapter | Habitat | Flowers | Done |
|---|---|---|---|
| 1 | Crazee Dayzee Habitat | 3 | [ ] |
| 1 | Bunchabee Habitat | 5 | [ ] |
| 1 | Scatterpuff Habitat | 3 | [ ] |
| 1 | Croakaoke Habitat | 4 | [ ] |
| 1 | Glubbit Habitat | 5 | [ ] |
| 2 | Taggit Habitat | 3 | [ ] |
| 2 | Milde Habitat | 3 | [ ] |
| 2 | Peckadee Habitat | 4 | [ ] |
| 2 | Floofly Habitat | 5 | [ ] |
| 2 | Plumebrella Habitat | 4 | [ ] |
| 2 | Thudd Domain | 7 | [ ] |
| 3 | Weewoo Habitat | 4 | [ ] |
| 3 | Ouchin Habitat | 3 | [ ] |
| 3 | Casterway Habitat | 4 | [ ] |
| 3 | Bafloonder Habitat | 6 | [ ] |
| 3 | Snurfboard Habitat | 4 | [ ] |
| 3 | Nep-Enut Habitat | 4 | [ ] |
| 4 | Loopdeecoop Habitat | 4 | [ ] |
| 4 | Detonut Habitat | 3 | [ ] |
| 4 | Shy Guy Abode | 3 | [ ] |
| 4 | Bugya Habitat | 3 | [ ] |
| 4 | Little Mouser Nest | 6 | [ ] |
| 4 | Hauger Habitat | 5 | [ ] |
| 5 | Behedger Habitat | 4 | [ ] |
| 5 | Swirm Habitat | 5 | [ ] |
| 5 | Stickiwick Habitat | 5 | [ ] |
| 5 | Mawstalk Habitat | 3 | [ ] |
| 5 | Slugarang Habitat | 4 | [ ] |
| 5 | Wooshwing Habitat | 4 | [ ] |
| 6 | Goonie Habitat | 4 | [ ] |
| 6 | Huffin Puffin Habitat | 3 | [ ] |
| 6 | Jetty Jelly Habitat | 4 | [ ] |
| 6 | Lunge Fish Habitat | 6 | [ ] |
| 6 | Jam Guy Habitat | 3 | [ ] |
| 6 | Bewilder Bird Habitat | 6 | [ ] |
100% Completion Checklist
Use this checklist when you are ready to finish everything in the book.
- Finish the first six chapters and see the credits.
- Unlock Chapters 7-10.
- Unlock Chapters 11-12.
- Complete every habitat at least once.
- Find every Big Discovery.
- Fill every creature page.
- Collect all main-story Smiley Flowers.
- Collect all post-game Smiley Flowers.
- Spend tokens on remaining hints after blind searching.
- Revisit every habitat with missing book entries.
- Complete Special Studies.
- Complete Mr. E’s Challenges.
General Tips for Finding Missing Discoveries
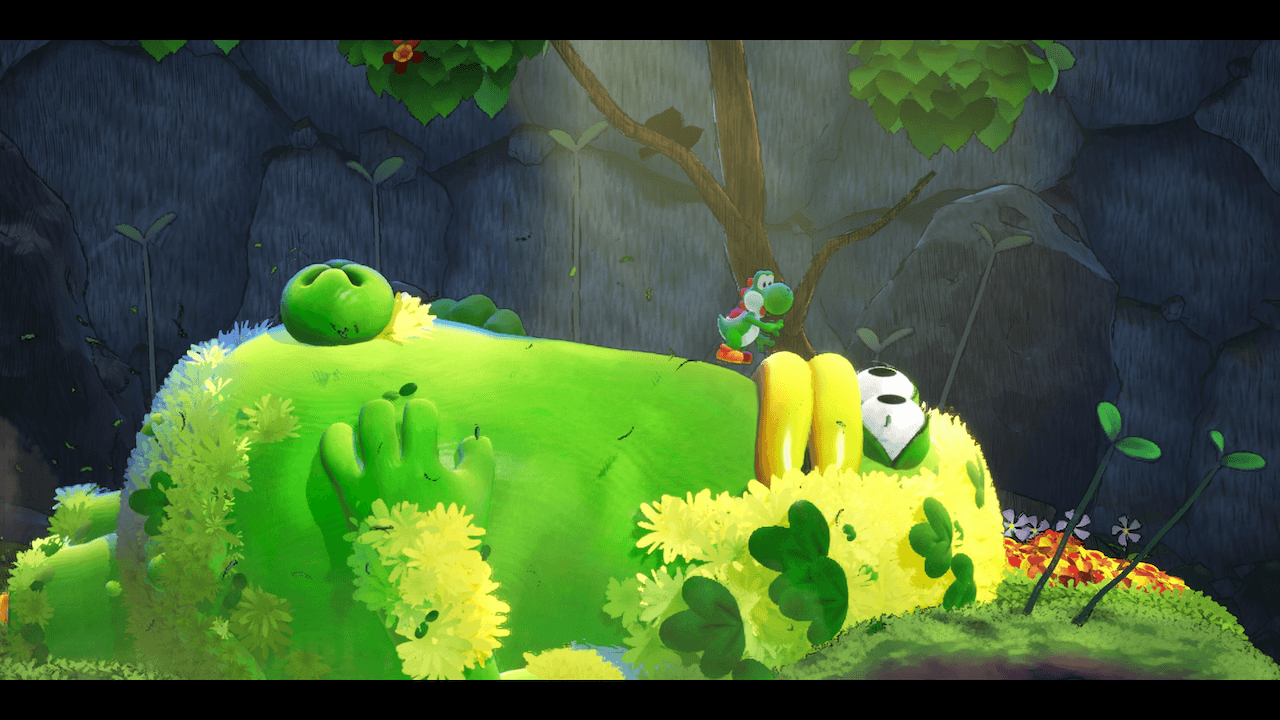
1. Test every action on every new creature
When a new creature appears, try the full Yoshi toolkit: tongue, jump, ground pound, egg throw, tail flick, carry, drop, and throw. The game often hides discoveries behind actions that are not required for basic level completion.
2. Let creatures interact with the environment
A creature may not be the solution by itself. It may need to touch a flower bud, rock, mud puddle, enemy, bubble, water current, switch, or hidden object.
3. Follow stolen, thrown, or moving objects
If something runs away, gets carried off, rolls downhill, floats away, or changes direction, follow it. These moments often lead to hidden discoveries.
4. Use tokens after exploring manually
Tokens can help reveal hints for missing discoveries, but do not spend them too early. First, clear the level once and check every obvious interaction. Then use hints to narrow down the remaining discoveries.
5. Revisit levels after post-game unlocks
Some discoveries make more sense once you understand later creature patterns. If you are stuck, leave the habitat, clear another chapter, and come back with fresh context.
FAQ
How many chapters are in Yoshi and the Mysterious Book?
There are 12 chapters in total. The first six chapters make up the main story. Chapters 7-10 are post-game chapters, and Chapters 11-12 are late challenge chapters.
What is the fastest way to clear the story?
Focus on Big Discoveries and star thresholds. Do not try to collect every Smiley Flower during your first pass. Clear each habitat, unlock the next chapter, and return later for cleanup.
Do I need every Smiley Flower to finish the main story?
No. Smiley Flowers are mainly a completion objective. For the story route, your priority is making discoveries and earning enough stars to unlock new chapters.
What should I do if I am missing one discovery?
Open the habitat’s book page, check which discovery is missing, then revisit the level and test creature interactions in the area where the silhouette or hint suggests a missing action. If needed, spend tokens to reveal more detailed hints.
Is 100% completion worth doing?
Yes, if you enjoy exploration and puzzle solving. The main story is relaxed, but full completion is where the game becomes more about observation, experimentation, and route planning.
Final Advice
The best way to play Yoshi and the Mysterious Book is to treat every page like a small science experiment. If something looks decorative, test it. If a creature behaves strangely, follow it. If a flower is unreachable, think about which creature can change the route.
Clear the story first, then return with the checklist above. That route keeps the game smooth while still giving you a clear path toward 100% completion.
Image credit: Nintendo official promotional screenshots. This article is an unofficial fan-made walkthrough and is not affiliated with Nintendo.